Instructions
- Prepare Your Workspace and Disassemble Burners:
Before you begin, ensure your stove is completely cool. For gas stoves, turn off the gas supply at the main valve for extra safety, if comfortable. Put on your rubber gloves to protect your hands from grime and cleaning solutions. Carefully lift the grates (if applicable) and then remove the burner caps and burner heads. Pay attention to how they are arranged so you can reassemble them correctly. For electric coil burners, gently lift them and unplug them from their receptacles. For smooth-top electric stoves, the burners are integrated, so this guide focuses primarily on gas and coil burners.
- Initial Rinse and Scrape (Optional):
If there are large, loose food particles or burnt-on debris, give the burner components a quick rinse under warm water. For stubborn, caked-on bits, you can gently scrape them off with a plastic scraper or the dull side of a knife. Be careful not to scratch the surfaces.
- Soak the Burner Components:
Find a large basin or plug your sink. Place the burner caps and burner heads (or electric coils) into the basin. Sprinkle about 1/2 cup of baking soda over all the components. Then, slowly pour 1/2 cup of white vinegar over the baking soda. This will create a fizzing reaction, which helps to break down grease and grime. Once the fizzing subsides, add enough warm water to completely submerge the components. Add a generous squirt of dish soap to the water. Let them soak for at least 30 minutes, but for heavily soiled burners, an hour or even overnight is recommended. The longer they soak, the easier the scrubbing will be.
- Scrub Away Grime:
After soaking, remove the components from the solution. Using a non-abrasive sponge or scrub brush, vigorously scrub each piece. Focus on areas with burnt-on food and grease. For intricate areas and burner ports, use an old toothbrush or a small wire brush to get into crevices. The baking soda and vinegar solution will have softened most of the grime, making it easier to remove. For electric coils, gently scrub the coils themselves, being careful not to bend or damage them.
- Unclog Burner Ports (Gas Burners Only):
This is a critical step for gas burners. Inspect the small holes (burner ports) around the burner heads. If you see any blockages from food particles or hardened grease, use a toothpick or a thin piece of wire to carefully poke through each hole. Gently push the debris out. Do not use metal objects like paper clips or pins if they are too wide, as this can damage the burner ports and affect the flame pattern. Ensure all ports are clear for an even flame.
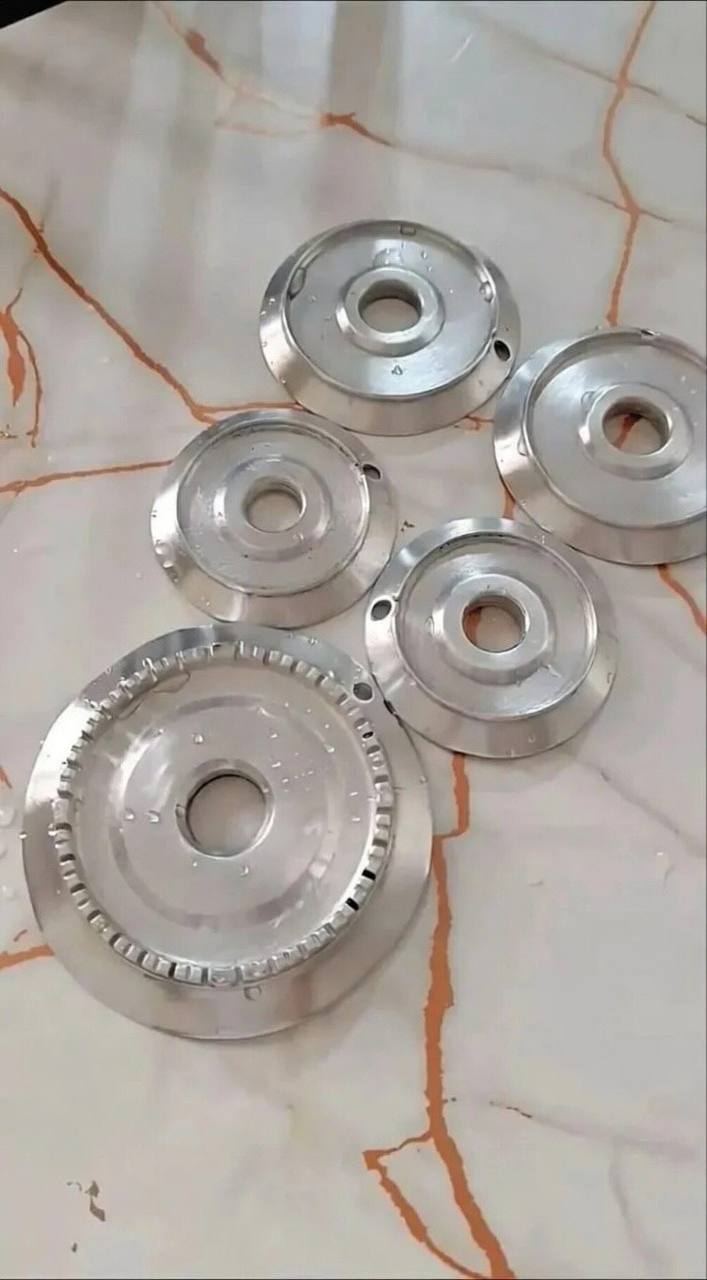
- Rinse Thoroughly:
Once you’re satisfied with the scrubbing, rinse all the burner components under clean, running warm water. Make sure to remove all traces of soap and cleaning solution. For gas burner heads, hold them under the water and ensure water flows freely through all the burner ports, indicating they are clear.
- Dry Completely:
This step is crucial, especially for gas burners. Moisture can interfere with ignition and cause rust. Use a clean microfiber cloth or old towel to thoroughly dry each component. For gas burner heads, you can also place them in a warm oven for a few minutes on a low setting (around 200°F/90°C) or let them air dry completely for several hours. Ensure there is no moisture left before reassembly.
- Clean Underneath the Burners (Stovetop Surface):
While your burners are drying, take the opportunity to clean the stovetop surface underneath where the burners sit. Use a damp cloth with a little dish soap or an all-purpose kitchen cleaner to wipe away any spills or grime. Rinse with a clean, damp cloth and dry thoroughly.
- Reassemble the Burners:
Once all components are completely dry, carefully place them back onto the stove. For gas burners, ensure the burner heads are properly aligned with the gas supply tubes and that burner caps are seated correctly. For electric coil burners, plug them back into their receptacles firmly. If you removed grates, place them back last. Ensure everything is stable and in its correct position.
- Test the Burners:
After reassembly, turn the gas supply back on (if you turned it off). Light each burner individually to ensure they ignite properly and produce a clear, even blue flame. If the flame is yellow, uneven, or sputtering, recheck the burner ports for blockages and ensure all components are dry and correctly aligned. For electric burners, turn them on to ensure they heat up evenly.
Cooking Tips and Variations
For electric coil burners, a similar soaking method works well, but be extra careful not to submerge the electrical connections. You can opt to just soak the coils themselves, keeping the connection points dry. For smooth-top electric stoves, cleaning involves specific ceramic cooktop cleaners and non-abrasive pads, as the burners are integrated beneath the surface.
For exceptionally stubborn stains or rust on gas burner grates or caps, consider using a commercial oven cleaner. Always follow the product instructions carefully and ensure good ventilation. Alternatively, a paste made from baking soda and a small amount of water can be applied directly to tough spots, left to sit for 15-30 minutes, and then scrubbed off.
If you’re dealing with very old or heavily rusted cast iron grates, a wire brush might be necessary. After cleaning, you can re-season cast iron grates with a thin layer of cooking oil to prevent future rust, similar to how you’d season a cast iron pan.
Storage and Reheating
This section is not applicable as the article describes a cleaning and restoration process, not a recipe for consumption.
Frequently Asked Questions
How often should I clean my stove burners?
For optimal performance and appearance, a light cleaning of burner caps and grates should be done weekly or after any significant spill. A deep cleaning, like the one described, is recommended every 1-3 months, depending on how frequently you cook and how prone your stove is to spills.
Can I put stove burner parts in the dishwasher?
While some manufacturers state that certain grates or caps are dishwasher safe, it’s generally not recommended for the main burner heads, especially for gas stoves. The intense heat and harsh detergents in a dishwasher can damage the delicate burner ports or cause discoloration. Hand washing using the soaking method described is safer and more effective for deep cleaning.
My gas burner still won’t light properly after cleaning. What should I do?
First, ensure all burner ports are completely clear and dry. If the issue persists, check that the burner head is correctly seated and aligned with the gas supply tube. If the problem continues, there might be an issue with the igniter or the gas flow, which would require professional inspection or a more advanced DIY fix beyond basic cleaning. Always consult your stove’s manual for specific troubleshooting.