Instructions
- Preheat your oven to 350°F (175°C). Lightly grease a 9×13 inch baking dish.
- Carefully separate the King’s Hawaiian rolls if they are still attached. Place them in a single layer in the prepared baking dish, leaving a small space between each roll if possible.
- Using the back of a spoon, your thumb, or a small round object (like the bottom of a spice jar), gently press down on the center of each roll to create a slight indentation or “well.” Be careful not to press all the way through the roll.
- In a medium mixing bowl, beat the softened cream cheese with the granulated sugar until smooth and creamy, with no lumps.
- Stir in the egg yolk, 1 teaspoon vanilla extract, and optional lemon zest until just combined. Do not overmix.
- Spoon approximately 1-2 tablespoons of the cheesecake filling into the well of each King’s Hawaiian roll. Distribute the filling evenly among all 12 rolls.
- Brush the exposed edges of the King’s Hawaiian rolls (the parts not covered by the cheesecake filling) with the melted butter. This will help them brown beautifully and add a lovely richness.
- Bake for 18-22 minutes, or until the rolls are golden brown around the edges and the cheesecake filling is set and slightly puffed.
- While the danishes are baking, prepare the glaze. In a small bowl, whisk together the powdered sugar, 2 tablespoons of milk, and 1/2 teaspoon vanilla extract until smooth. If the glaze is too thick, add more milk 1/2 teaspoon at a time until it reaches a drizzling consistency. If it’s too thin, whisk in a little more powdered sugar.
- Once baked, remove the danishes from the oven and let them cool in the pan for about 5-10 minutes.
- Generously drizzle the prepared glaze over the warm danishes.
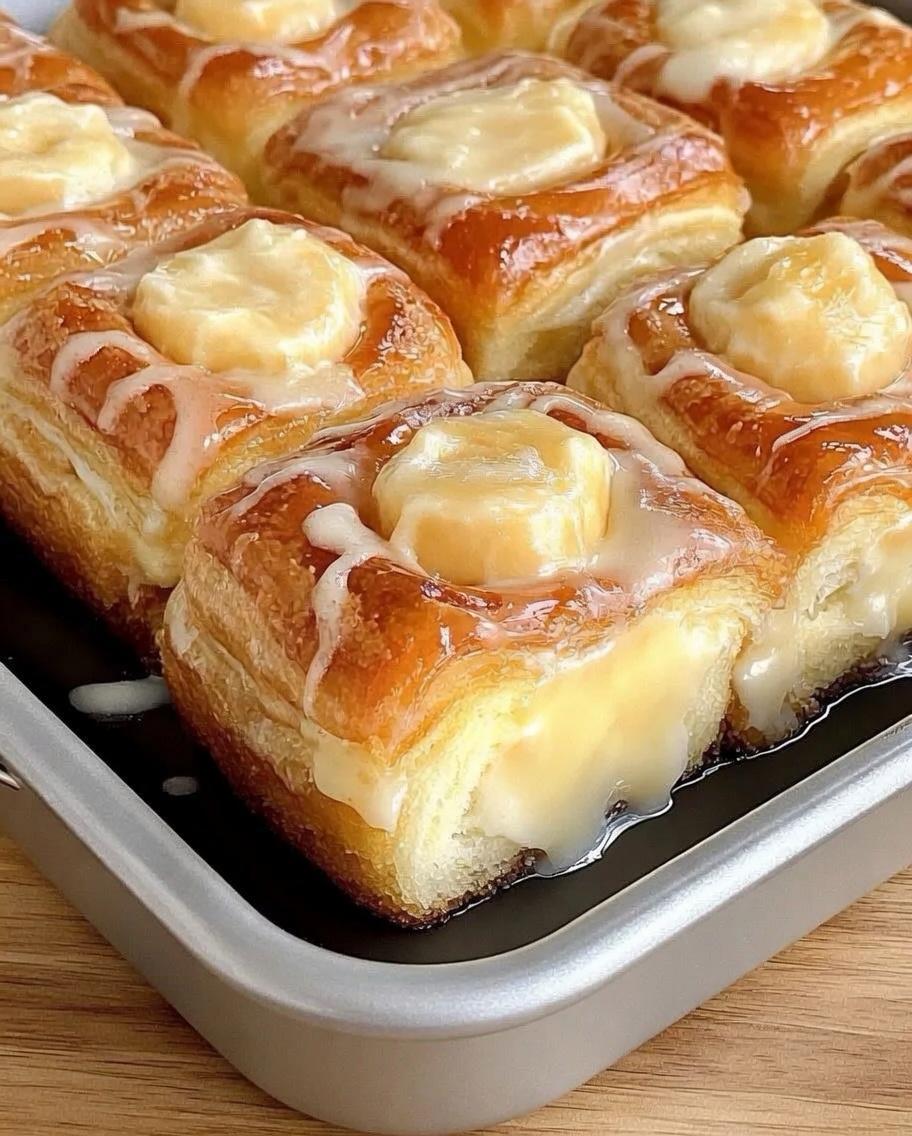
- Serve warm or at room temperature and enjoy your delicious King’s Hawaiian Cheesecake Danishes!
Cooking Tips and Variations
For the smoothest cheesecake filling, ensure your cream cheese is truly at room temperature. This makes it much easier to beat out any lumps. If you’re short on time, you can soften cream cheese quickly by unwrapping it and microwaving it on high for 10-15 seconds, checking frequently.
When creating the wells in the rolls, aim for a gentle but firm press. You want enough space for the filling but don’t want to tear through the bottom. A small, sturdy spoon or even your thumb works perfectly.
Don’t skip the melted butter brush! It adds flavor, helps achieve that beautiful golden-brown crust, and keeps the rolls from drying out during baking.
For a perfect drizzling glaze, start with less milk and add more slowly until you reach your desired consistency. You want it thick enough to coat a spoon but thin enough to flow easily. If it cools and thickens too much before drizzling, you can gently warm it for a few seconds in the microwave or add another tiny splash of milk.
Feel free to get creative with flavor variations! For a lemon poppy seed twist, add 1/2 teaspoon of poppy seeds and an extra 1/4 teaspoon of lemon zest to the cheesecake filling. For a berry blast, add a few fresh raspberries or blueberries on top of the cheesecake filling before baking. You could also swirl in a spoonful of fruit preserves (like strawberry or cherry) into the filling for an extra fruity kick. A touch of almond extract instead of vanilla in the filling and glaze offers a delightful change. For a chocolate lover’s version, sprinkle mini chocolate chips over the filling before baking or drizzle with melted chocolate instead of the glaze.
Storage and Reheating
To store your King’s Hawaiian Cheesecake Danishes, allow them to cool completely. Then, place them in an airtight container at room temperature for up to 2 days. For longer storage, you can refrigerate them for up to 4-5 days. If refrigerating, the rolls may lose some of their softness, but the flavor will still be delicious.
If you prefer to enjoy them warm, you can reheat individual danishes in the microwave for 15-30 seconds, or until just warmed through. Be careful not to overheat, as this can make the rolls tough. Alternatively, you can place them on a baking sheet and warm them in a preheated oven at 300°F (150°C) for 5-10 minutes, or until gently heated. This method helps maintain a crispier exterior.
Frequently Asked Questions
Can I make these danishes ahead of time?
Yes, you can prepare parts of this recipe in advance! You can make the cheesecake filling up to 2 days ahead and store it in an airtight container in the refrigerator. You can also create the wells in the King’s Hawaiian rolls and arrange them in the baking dish the night before, covering them tightly with plastic wrap and refrigerating. When ready to bake, just add the filling, brush with butter, and bake as directed, possibly adding a few extra minutes to the baking time since they’ll be cold.
What if I don’t have King’s Hawaiian rolls?
While King’s Hawaiian rolls are highly recommended for their unique sweetness and texture, you could substitute with other soft, sweet dinner rolls or brioche buns. The results may vary slightly in flavor and texture, but the concept will still work. Ensure the rolls are individually separated or can be easily pulled apart.
My cheesecake filling seems too runny, what went wrong?
A runny cheesecake filling is often a sign of overmixing, especially after adding the egg yolk. Overmixing incorporates too much air, which can cause the filling to be less stable. Ensure your cream cheese is softened, and only mix until just combined after adding the egg yolk and vanilla. The filling should be thick enough to hold its shape when spooned into the wells.