German Apple Strudel (Apfelstrudel)
Introduction
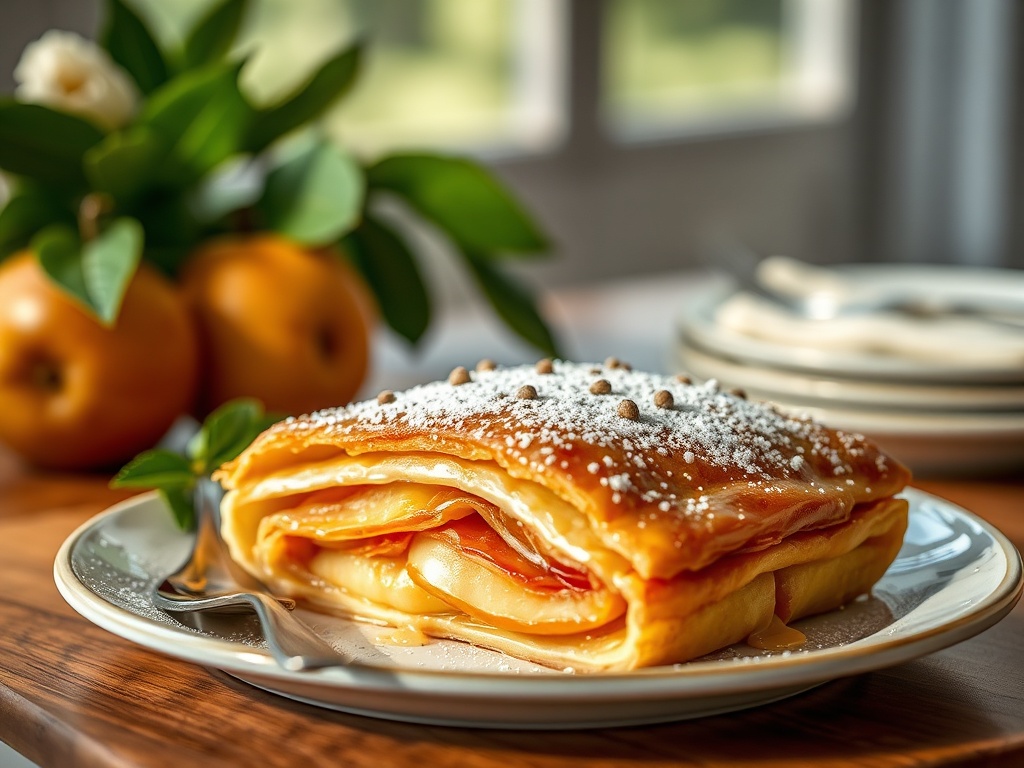
Imagine a crisp autumn afternoon, a warm kitchen, and the intoxicating aroma of cinnamon-spiced apples mingling with buttery, flaky pastry. This is the magic of Apfelstrudel, a dessert that transcends borders and captures hearts with every bite. While its origins are often debated between Austria and Germany, there’s no denying that this beloved apple pastry holds a cherished place in German culinary tradition, especially in the southern regions like Bavaria. It’s more than just a dessert; it’s a taste of history, comfort, and a testament to the simple joy of well-crafted food.
Apfelstrudel is a perfectly balanced treat that effortlessly combines sweet and tart flavors with a delightful textural contrast. The delicate, almost paper-thin layers of dough encase a generous filling of tender, aromatic apples, often studded with plump raisins and given a subtle crunch from toasted breadcrumbs. What makes it truly special is the artistry involved in creating that signature translucent pastry, stretched so fine it’s said you could read a newspaper through it. While this might sound intimidating, fear not! This guide will demystify the process, showing you that achieving an impressive, authentic Apfelstrudel in your own kitchen is entirely within reach.
In this comprehensive article, we’ll embark on a culinary journey, exploring the rich history behind this iconic dessert, delving into the crucial ingredients that make it shine, and providing a detailed, step-by-step guide to mastering the art of strudel making. We’ll cover everything from selecting the perfect apples to the “magic” of stretching the dough and achieving that golden-brown, crisp finish. Get ready to impress your family and friends with a homemade Apfelstrudel that tastes just like a slice of German tradition.
Nutritional Information
Per serving (approximate values, based on 8 servings for a standard strudel):
- Calories: 380 kcal
- Protein: 5g
- Carbohydrates: 50g
- Fat: 19g
- Fiber: 4g
- Sodium: 180mg
Ingredients
For the Strudel Dough:
- 2 cups (240g) all-purpose flour, plus more for dusting
- 1/2 cup (120ml) warm water (about 100-110°F / 38-43°C)
- 1/4 cup (60ml) vegetable oil or melted unsalted butter
- 1 teaspoon white vinegar or lemon juice
- 1/2 teaspoon salt
For the Filling:
- 6-7 medium apples (about 2.5 lbs / 1.1 kg), a mix of tart and sweet like Granny Smith, Honeycrisp, Braeburn, or Jonagold
- 1/2 cup (100g) granulated sugar (adjust to apple sweetness)
- 1 teaspoon ground cinnamon
- 1/4 teaspoon ground nutmeg (optional)
- 1/4 cup (30g) plain breadcrumbs (panko can also work)
- 1/2 cup (80g) raisins or sultanas (optional, plumped in warm water or rum)
- Zest of 1 lemon
- 1 tablespoon fresh lemon juice
- 2 tablespoons unsalted butter, melted, plus more for brushing
For Assembly and Baking:
- 1/2 cup (113g) unsalted butter, melted (for brushing the dough layers)
- Powdered sugar, for dusting
Instructions
- Prepare the Dough: In a large bowl, combine the flour and salt. In a separate small bowl, whisk together the warm water, oil (or melted butter), and vinegar/lemon juice. Gradually add the wet ingredients to the dry ingredients, mixing with a wooden spoon or your hands until a shaggy dough forms.
- Knead the Dough: Transfer the dough to a lightly floured surface and knead for 5-7 minutes until it is smooth, elastic, and no longer sticky. It should feel soft and pliable. Form the dough into a ball.
- Rest the Dough: Lightly grease a clean bowl with a little oil. Place the dough ball in the bowl, turning to coat. Cover the bowl tightly with plastic wrap and let the dough rest at room temperature for at least 30 minutes, or up to 1 hour. This resting period is crucial for gluten relaxation, making the dough easier to stretch.
- Prepare the Apple Filling: While the dough rests, prepare the filling. Peel, core, and slice the apples into thin, uniform pieces (about 1/8 to 1/4 inch thick). Place the sliced apples in a large bowl.
- Combine Filling Ingredients: Add the granulated sugar, cinnamon, nutmeg (if using), lemon zest, and lemon juice to the apples. Toss gently to combine. If using raisins, drain them and add them to the apple mixture.
- Prepare Breadcrumbs: In a small skillet, melt 2 tablespoons of butter over medium heat. Add the breadcrumbs and toast, stirring constantly, until golden brown and fragrant. This will take about 3-5 minutes. Set aside to cool slightly.
- Prepare Your Workspace for Stretching: Clear a large work surface (a kitchen table works well). Lay a large, clean kitchen towel or tablecloth over the surface, ensuring it hangs over the edges. Lightly flour the towel evenly.
- Roll the Dough: Place the rested dough ball in the center of the floured towel. Using a rolling pin, roll the dough into a rectangular shape as thin as possible, approximately 18×12 inches.
- Stretch the Dough (The Magic Step): This is where the fun begins! Gently slide your floured hands (palms down, knuckles up) underneath the dough. Starting from the center, carefully and slowly stretch the dough outwards, using the backs of your hands. Work your way around the rectangle, pulling the dough thinner and thinner. The goal is to make the dough so thin that it’s translucent – you should be able to see the pattern of the towel through it. Don’t worry if it tears a little; small tears can be patched with a tiny piece of dough, or simply ignored as the layers will still be delicious. Continue stretching until the dough is approximately 24×36 inches or as large and thin as you can get it. Trim any thick edges if necessary.
- Brush with Butter: Using a pastry brush, liberally brush the entire surface of the stretched dough with about half of the melted butter (approximately 1/4 cup).
- Add Breadcrumbs and Filling: Sprinkle the toasted breadcrumbs evenly over the buttered dough, leaving a 2-3 inch border along one of the long edges and the two short ends. This breadcrumb layer will absorb moisture from the apples and prevent a soggy bottom.
- Spread the Filling: Evenly spread the apple mixture over the breadcrumbs, again leaving the 2-3 inch border along the long edge and short ends where you didn’t apply breadcrumbs.
- Fold and Roll: Fold the short ends of the dough over the filling. Then, using the kitchen towel to help you, carefully lift the long edge of the dough closest to you and begin to roll the strudel tightly, away from you. Continue rolling, using the towel to gently guide and lift, until you have a long, cylindrical strudel.
- Transfer to Baking Sheet: Carefully transfer the rolled strudel to a parchment-lined baking sheet, seam-side down. You might need to gently curve it into a horseshoe shape if your baking sheet isn’t long enough.
- Bake: Preheat your oven to 375°F (190°C). Brush the top and sides of the strudel generously with the remaining melted butter. Bake for 40-50 minutes, or until the strudel is deeply golden brown and crisp.
- Cool and Serve: Once baked, remove the strudel from the oven and let it cool on the baking sheet for at least 15-20 minutes before attempting to slice. This allows the filling to set and the pastry to firm up. Dust generously with powdered sugar before serving warm.
Cooking Tips and Variations
Patience with the Dough: The resting time for the dough is not optional; it’s essential. It allows the gluten to relax, making the dough pliable and easy to stretch. Don’t rush it!
The “Newspaper Thin” Goal: While achieving absolute transparency like a professional strudel baker is challenging, aim for the thinnest dough you can manage without excessive tearing. The thinner the dough, the flakier your strudel will be.
Embrace Imperfections: Don’t be discouraged by small tears during stretching. They are common and won’t significantly impact the final taste or texture. Just try to gently patch them if they’re large.
Don’t Skimp on Butter: Butter is key for both flavor and the characteristic flaky layers of strudel. Brushing the stretched dough and the exterior before baking ensures a rich taste and beautiful golden crust.
Apple Choice is Crucial: A mix of tart and sweet apples provides the best flavor balance. Avoid overly soft apples that will turn to mush during baking. Firm apples that hold their shape are ideal.
Toasted Breadcrumbs are a Must: These act as a barrier, absorbing excess moisture from the apples and preventing a soggy bottom crust. Don’t skip this step!
Rum-Soaked Raisins: For an extra layer of flavor and a touch of traditional booziness, soak your raisins in rum for at least 30 minutes (or overnight) before adding them to the filling.
Spice Variations: While cinnamon is iconic, feel free to experiment with a pinch of allspice, ground cloves, or even a tiny bit of cardamom for a more complex spice profile.
Nutty Addition: For added texture and flavor, you can mix 1/4 cup of finely chopped toasted walnuts or almonds into the apple filling.
Cheese Strudel (Topfenstrudel): If you’re feeling adventurous, try a savory-sweet version with a creamy quark cheese filling instead of apples.
Cherry Strudel (Kirschstrudel): Substitute the apples with pitted sour cherries for a delightful tart and sweet alternative.
Storage and Reheating
Storage:
Once completely cooled, German Apple Strudel can be stored in an airtight container at room temperature for 1-2 days. For longer storage, refrigerate for up to 3-4 days. While it’s best enjoyed fresh, it still tastes wonderful the next day.
Reheating:
To restore its crispness and warmth, reheating is recommended. The best method is to place slices of strudel on a baking sheet and reheat in a preheated oven at 300°F (150°C) for 10-15 minutes, or until warmed through and the pastry is slightly crisp again. Avoid microwaving, as this tends to make the pastry soft and chewy rather than flaky.
Freezing:
Baked Strudel: Once baked and completely cooled, you can freeze individual slices or the whole strudel. Wrap tightly in plastic wrap, then an additional layer of aluminum foil. Freeze for up to 2-3 months. Thaw in the refrigerator overnight and reheat in the oven as described above.
Unbaked Strudel: You can also prepare the strudel up to the point of baking. Place the unbaked strudel on a baking sheet and freeze until solid. Once solid, wrap tightly in plastic wrap and then foil. When ready to bake, unwrap and bake from frozen (this may take an additional 15-20 minutes, or until golden brown and cooked through), or thaw in the refrigerator first and then bake as instructed.
Frequently Asked Questions
What kind of apples are best for Apfelstrudel?
For the best Apfelstrudel, a blend of tart and sweet, firm apples is ideal. Granny Smith provides a wonderful tartness, while varieties like Honeycrisp, Braeburn, Jonagold, or even Golden Delicious offer sweetness and good texture. Avoid apples that turn mushy quickly, as they will result in a less pleasant filling.
My dough keeps tearing when I stretch it. What am I doing wrong?
Dough tearing is a common issue! It often means the dough hasn’t rested long enough, or it wasn’t kneaded adequately to develop enough gluten elasticity. Ensure you give the dough at least 30 minutes (preferably an hour) to rest, allowing the gluten to relax. Also, be gentle and use the backs of your hands/knuckles to stretch from the center outwards, rather than pulling aggressively. Small tears are fine; just patch them or embrace them as part of the homemade charm.
Why do I need to add breadcrumbs to the filling?
Breadcrumbs are a traditional and essential component of Apfelstrudel filling. They act as a sponge, absorbing excess moisture released by the apples during baking. This prevents the bottom of your strudel from becoming soggy and ensures a crisp, flaky crust all around.
Can I make Apfelstrudel ahead of time?
Yes, you can! The dough can be made a day in advance and stored in the refrigerator (bring to room temperature before stretching). The apple filling can also be prepared a few hours ahead of time and kept covered in the fridge. For a fully assembled strudel, it’s best to bake it the same day for optimal crispness, but you can certainly assemble it an hour or two before baking.