Introduction
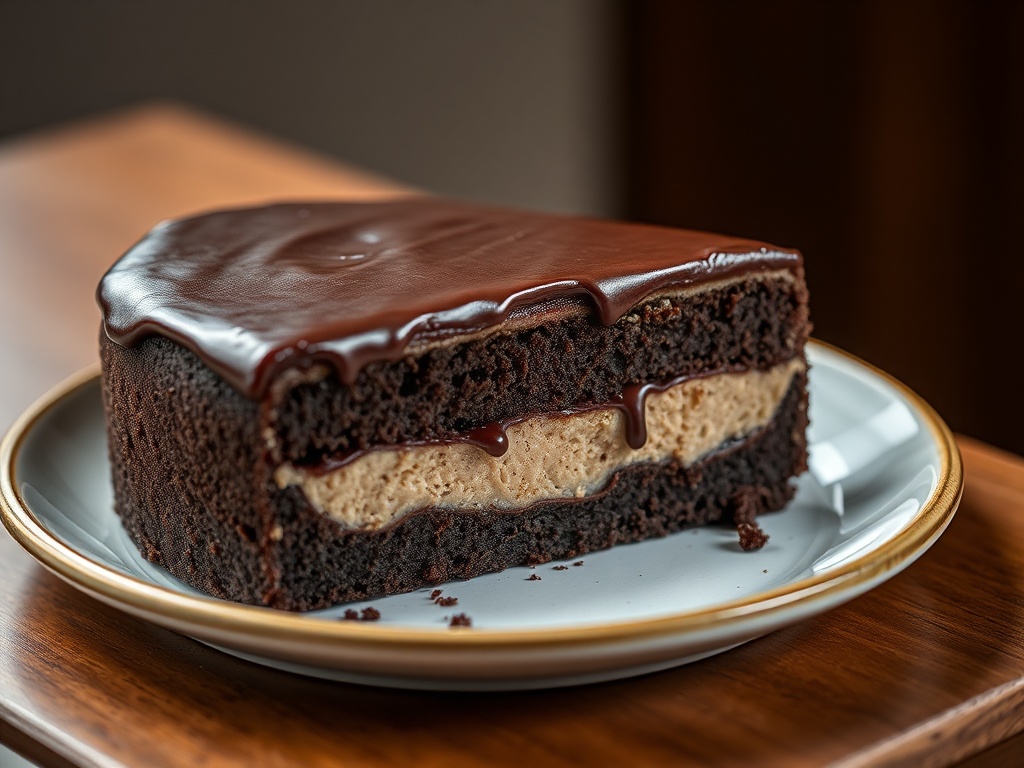
Prepare to embark on a culinary journey that promises pure indulgence and an unforgettable dessert experience. We’re talking about the ultimate showstopper: a Chocolate Cheesecake Filled and Ganache-Topped Cake. Imagine, if you will, a moist, rich chocolate cake, its tender crumb hinting at deep cocoa notes. Now, picture that cake embracing a creamy, tangy cheesecake core, a delightful surprise nestled within each slice. And finally, envision this masterpiece draped in a luxurious, glossy chocolate ganache, a silky blanket that seals the deal on decadence. This isn’t just a cake; it’s an edible architectural marvel, a symphony of textures and flavors that will captivate all who behold it.
This magnificent creation is more than just a dessert; it’s a celebration. Perfect for special occasions, holiday gatherings, or simply when you want to impress your friends and family with your baking prowess, this cake delivers on all fronts. It’s the kind of dessert that elicits gasps of delight when brought to the table, a true conversation starter that tastes even better than it looks. While it demands a bit of time and a labor of love, the payoff is immense – a truly magnificent cake that showcases multiple beloved desserts in one harmonious bite.
The beauty of this recipe lies in its thoughtful construction, combining the best elements of a classic chocolate layer cake with the irresistible allure of a baked cheesecake, all brought together by the sheer elegance of a rich ganache. Each component is perfected individually before being assembled into a cohesive, show-stopping whole. From the tender cake layers that melt in your mouth, to the smooth and creamy cheesecake filling that provides a delightful contrast, and finally, the dark, velvety ganache that crowns it all, every element plays a crucial role in creating this masterpiece. Get ready to bake something truly extraordinary!
Nutritional Information
Per serving (approximate values):
- Calories: 680
- Protein: 10g
- Carbohydrates: 85g
- Fat: 35g
- Fiber: 4g
- Sodium: 350mg
Ingredients
For the Chocolate Cake Layers:
- 2 cups (240g) all-purpose flour
- 1 ¾ cups (350g) granulated sugar
- ¾ cup (75g) unsweetened cocoa powder, natural or Dutch-processed
- 2 teaspoons baking soda
- 1 teaspoon baking powder
- 1 teaspoon salt
- 1 cup (240ml) buttermilk, room temperature
- ½ cup (120ml) vegetable oil or other neutral oil
- 2 large eggs, room temperature
- 1 teaspoon pure vanilla extract
- 1 cup (240ml) hot water or hot brewed coffee
For the Cheesecake Filling:
- 16 ounces (450g) full-fat cream cheese, softened to room temperature
- ½ cup (100g) granulated sugar
- 1 large egg, room temperature
- 1 teaspoon pure vanilla extract
- ¼ cup (60g) sour cream or heavy cream, room temperature
For the Chocolate Ganache:
- 12 ounces (340g) high-quality dark chocolate (60-70% cacao), finely chopped
- 1 ½ cups (360ml) heavy cream
- 2 tablespoons (28g) unsalted butter, optional, for extra shine
- 1 tablespoon light corn syrup, optional, for extra shine and smooth texture
Instructions
Part 1: Prepare the Cheesecake Filling
- Preheat your oven to 325°F (160°C). Grease and flour a 6-inch springform pan.
- In a large bowl, using an electric mixer on medium speed, beat the softened cream cheese until smooth and creamy, about 2-3 minutes. Scrape down the sides of the bowl.
- Gradually add the granulated sugar to the cream cheese, beating until just combined and no lumps remain. Do not overmix.
- Beat in the egg and vanilla extract until just incorporated.
- Stir in the sour cream or heavy cream until the batter is smooth.
- Pour the cheesecake batter into the prepared 6-inch springform pan.
- Place the springform pan into a larger baking pan (such as a 9×13-inch pan). Carefully pour hot water into the larger pan until it comes about halfway up the sides of the springform pan (this is a water bath).
- Bake for 35-45 minutes, or until the edges are set and the center has a slight jiggle when gently shaken.
- Turn off the oven, crack the oven door, and let the cheesecake cool in the water bath for 1 hour.
- Remove the cheesecake from the water bath, remove the springform pan, and let it cool completely on a wire rack.
- Once completely cool, cover the cheesecake with plastic wrap and refrigerate for at least 4 hours, or preferably overnight, to chill thoroughly.
Part 2: Prepare the Chocolate Cake Layers
- Preheat your oven to 350°F (175°C). Grease and flour two 8-inch round cake pans, or line the bottoms with parchment paper and grease the sides.
- In a large bowl, whisk together the all-purpose flour, granulated sugar, unsweetened cocoa powder, baking soda, baking powder, and salt.
- In a separate medium bowl, whisk together the buttermilk, vegetable oil, eggs, and vanilla extract until well combined.
- Pour the wet ingredients into the dry ingredients and mix on low speed with an electric mixer until just combined. Do not overmix.
- Carefully stir in the hot water or hot brewed coffee until the batter is smooth and a bit thin.
- Divide the batter evenly between the two prepared 8-inch cake pans.
- Bake for 30-35 minutes, or until a wooden skewer inserted into the center comes out with moist crumbs attached.
- Let the cake layers cool in the pans for 10-15 minutes before inverting them onto a wire rack to cool completely. Ensure they are completely cool before assembling.
Part 3: Prepare the Chocolate Ganache
- Finely chop the dark chocolate and place it in a heatproof bowl.
- In a small saucepan, heat the heavy cream, optional butter, and optional corn syrup over medium heat until it just begins to simmer around the edges. Do not let it boil vigorously.
- Pour the hot cream mixture over the chopped chocolate. Let it sit undisturbed for 5 minutes to allow the chocolate to melt.
- After 5 minutes, gently whisk the mixture starting from the center and working your way outwards until the ganache is smooth, glossy, and fully emulsified.
- Let the ganache cool at room temperature for 1-2 hours, stirring occasionally, until it reaches a thick, spreadable consistency similar to frosting. If it gets too firm, you can gently warm it over a double boiler for a few seconds. If it’s too thin, chill it in the refrigerator for 10-15 minute intervals, stirring after each, until it reaches the desired consistency.
Part 4: Assemble the Cake
- Once the cake layers are completely cool and the cheesecake is thoroughly chilled, level the cake layers using a serrated knife if necessary. You want two flat, even layers.
- Place one chocolate cake layer on your serving plate or cake stand.
- Using a piping bag fitted with a round tip (or a Ziploc bag with a corner snipped off), pipe a dam of chocolate ganache around the perimeter of the cake layer. This will hold the cheesecake in place.
- Carefully remove the chilled cheesecake from its springform pan and place it gently within the ganache dam on top of the first cake layer.
- Place the second chocolate cake layer on top of the cheesecake.
- Apply a thin layer of ganache all over the top and sides of the assembled cake. This is the “crumb coat” and helps to seal in any loose crumbs.
- Refrigerate the cake for 15-20 minutes to allow the crumb coat to set.
- Once the crumb coat is set, apply the remaining chocolate ganache evenly over the top and sides of the cake using an offset spatula. You can create decorative swirls or a smooth finish.
- Chill the finished cake in the refrigerator for at least 30 minutes to allow the ganache to firm up before slicing and serving.
Cooking Tips and Variations
Achieving baking success, especially with a multi-component cake like this, hinges on attention to detail. Always ensure your ingredients, particularly cream cheese, eggs, and buttermilk, are at room temperature. This is critical for smooth batters and proper emulsification, preventing lumps in your cheesecake and ensuring a tender texture in your cake layers. For the chocolate cake, the hot liquid step is not just for convenience; hot water or coffee helps to “bloom” the cocoa powder, intensifying its chocolate flavor and contributing to a wonderfully moist crumb. Don’t skip it!
When it comes to the cheesecake, preventing cracks is a common concern. The water bath method is your best friend here, providing a moist, even baking environment that promotes slow, gentle cooking. Avoid overbaking; the cheesecake should still have a slight jiggle in the center when you turn off the oven. Crucially, allow it to cool gradually in the oven with the door ajar, then on a wire rack, before chilling. Thermal shock from rapid cooling is a primary culprit for cracks. For the ganache, the quality of chocolate truly matters. Opt for high-quality dark chocolate baking bars or couverture chocolate over chocolate chips, as chips often contain stabilizers that can prevent a perfectly smooth melt. The ratio of cream to chocolate will dictate its consistency, so adjust slightly if you prefer a thicker or thinner pour. If your ganache breaks (looks greasy or separated), don’t despair! Try adding a tablespoon of warm milk or cream and whisking vigorously, or gently reheating it over a double boiler while whisking.
For variations, consider infusing flavors. A teaspoon of espresso powder added to the chocolate cake batter will deepen its chocolate notes without making it taste like coffee. For the cheesecake, a hint of orange zest or a splash of an orange liqueur like Grand Marnier can add a delightful citrusy brightness. The ganache can also be flavored; a teaspoon of peppermint extract for a holiday twist, or a splash of rum or Kahlúa for an adult version. You could also experiment with different types of chocolate for the ganache, such as milk chocolate for a sweeter profile or a mix of dark and semi-sweet. For an extra textural element, sprinkle some toasted chopped nuts (like pecans or walnuts) between the cake layers or on top of the ganache before it sets. A raspberry coulis drizzled over individual slices adds a beautiful color contrast and fruity tang.
Storage and Reheating
Due to the cream cheese in the filling and heavy cream in the ganache, this Chocolate Cheesecake Filled and Ganache-Topped Cake requires refrigeration. Store any leftovers in an airtight container in the refrigerator. If you don’t have a container large enough for the entire cake, you can cut it into slices and store them individually. When properly stored, the cake will remain fresh for up to 4-5 days. Beyond that, the cake layers might start to dry out slightly, and the cheesecake texture could change.
For the best serving experience, it is highly recommended to bring the cake to room temperature for about 30-60 minutes before serving. This allows the ganache to soften slightly, the cake layers to become more tender, and the cheesecake to achieve its optimal creamy texture and flavor. Slicing a cold cake can result in a firmer ganache that might crack and a cheesecake that feels too dense. To get clean slices, especially after the cake has been chilled, dip a sharp, thin knife into hot water, wipe it dry, and then make your cut. Repeat this process for each slice. This will help you achieve those picture-perfect, clean edges that truly showcase the layers of this magnificent dessert.
Frequently Asked Questions
Can I make parts of this cake ahead of time?
Absolutely! This cake is perfect for making ahead. The cheesecake filling can be baked and chilled up to 2-3 days in advance. In fact, thoroughly chilling the cheesecake makes it much easier to handle and ensures it holds its shape during assembly. The chocolate cake layers can also be baked a day in advance, cooled completely, and then wrapped tightly in plastic wrap (or even foil) and stored at room temperature. The ganache can be made a day ahead and stored in an airtight container in the refrigerator; just gently reheat it over a double boiler or in short microwave bursts, stirring frequently, until it reaches a spreadable consistency before assembly.
My ganache is too thin/thick. How do I fix it?
If your ganache is too thin (runny), it means it’s too warm or has too much cream. Try chilling it in the refrigerator for 10-15 minute intervals, stirring well after each interval, until it thickens to a spreadable consistency. If it’s too thick (stiff and not easily spreadable), it means it’s too cold or has too much chocolate. You can gently warm it over a double boiler (a bowl set over a pot of simmering water) or in the microwave in very short bursts (5-10 seconds), stirring constantly, until it softens to the desired consistency. Be careful not to overheat it, as this can cause it to separate.
How do I prevent my cake layers from sticking to the pan?
There are a few key steps to prevent sticking. First, ensure your pans are thoroughly greased. You can use butter, shortening, or non-stick baking spray. Second, lightly flour the greased pans, tapping out any excess. For extra insurance, especially with chocolate cakes, cut out parchment paper circles to fit the bottom of your pans and place them in after greasing. Then, grease the parchment paper and the sides of the pan. Always allow cake layers to cool in the pans for 10-15 minutes before inverting them onto a wire rack; trying to remove them too soon can cause them to tear.
What kind of chocolate is best for the ganache?
For the best results and a truly luxurious ganache, use high-quality dark chocolate baking bars or couverture chocolate with a cacao percentage between 60-70%. These chocolates melt smoothly and have a rich flavor. Avoid using chocolate chips, as they often contain stabilizers (like soy lecithin) that prevent them from melting into a perfectly smooth, silky ganache. If you prefer a sweeter ganache, you can use semi-sweet chocolate, but be aware it might set a bit softer.