Introduction
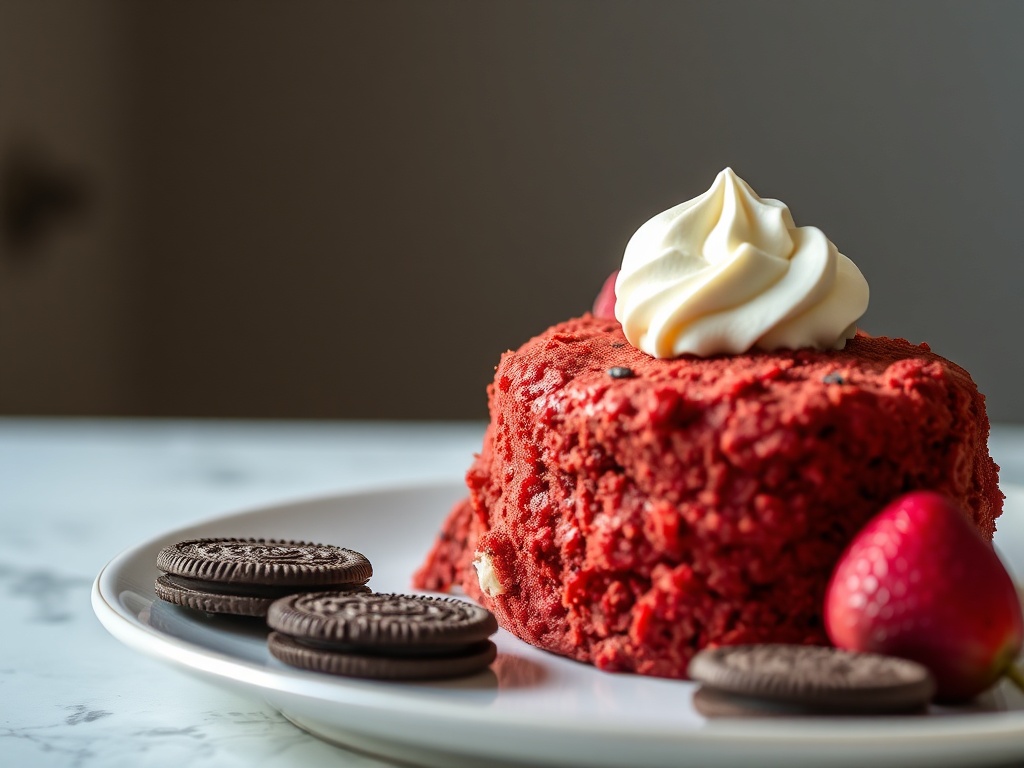
Prepare to embark on a culinary journey that marries two of the most beloved dessert icons: the velvety richness of Red Velvet Cake and the irresistible crunch of Oreo cookies. Our Oreo Red Velvet Cake is not just a dessert; it’s an experience, a symphony of flavors and textures designed to captivate your senses and leave an unforgettable impression. Imagine layers of intensely red, moist, and tender cake, infused with a subtle cocoa tang, generously slathered with a luscious, creamy cream cheese frosting studded with crunchy pieces of America’s favorite cookie. This isn’t just a cake; it’s a celebration in every bite, a showstopper that promises to be the star of any gathering.
What makes this particular rendition so special is its perfect balance. The slight acidity from the buttermilk and vinegar in the red velvet cake creates a beautiful counterpoint to the sweetness, while the cocoa adds depth without overwhelming. Then, enter the Oreos – their distinctive chocolatey flavor and satisfying crunch woven throughout the frosting transforms a classic into a modern masterpiece. This recipe is designed to be approachable for home bakers of all skill levels, ensuring that you can achieve bakery-quality results right in your own kitchen. Whether you’re celebrating a birthday, a holiday, or simply indulging a craving for something extraordinary, this Oreo Red Velvet Cake is your ultimate answer.
The allure of Red Velvet has deep roots, with its origins tracing back to the early 20th century, gaining significant popularity in the South. Its signature scarlet hue, once a natural reaction between cocoa and acidic ingredients, is now predominantly achieved with food coloring, making it visually striking. The addition of Oreos is a contemporary twist, a testament to how classic recipes can evolve and embrace new, exciting elements. This fusion creates a dessert that is both nostalgic and excitingly novel, offering familiar comfort with an unexpected burst of flavor and texture. Get ready to bake a cake that will have everyone asking for the recipe, and perhaps even a second slice!
Nutritional Information
Per serving (approximate values):
- Calories: 680
- Protein: 7g
- Carbohydrates: 90g
- Fat: 34g
- Fiber: 2g
- Sodium: 450mg
Ingredients
For the Oreo Red Velvet Cake:
- 2 ½ cups (300g) all-purpose flour, sifted
- 1 ½ cups (300g) granulated sugar
- 1 tablespoon unsweetened natural cocoa powder
- 1 teaspoon baking soda
- ½ teaspoon salt
- 2 large eggs, at room temperature
- 1 cup (240ml) vegetable oil
- 1 cup (240ml) buttermilk, at room temperature
- 1 tablespoon white vinegar
- 2 teaspoons vanilla extract
- 2-3 tablespoons red gel food coloring (adjust for desired intensity)
For the Oreo Cream Cheese Frosting:
- 16 ounces (450g) full-fat cream cheese, softened
- 1 cup (226g) unsalted butter, softened
- 4 cups (480g) powdered sugar, sifted
- 2 teaspoons vanilla extract
- ¼ cup (60ml) heavy cream (optional, for consistency)
- 1 ½ cups (about 15-18) crushed Oreo cookies (finely crushed)
For Garnish:
- 8-10 whole Oreo cookies
- ½ cup additional crushed Oreo cookies
Instructions
- Prepare Pans & Preheat Oven: Preheat your oven to 350°F (175°C). Grease and flour two 9-inch round cake pans, or line with parchment paper circles.
- Combine Dry Ingredients: In a large bowl, whisk together the sifted all-purpose flour, granulated sugar, cocoa powder, baking soda, and salt. Make sure there are no lumps.
- Combine Wet Ingredients (Cake): In a separate medium bowl, whisk together the eggs, vegetable oil, buttermilk, white vinegar, vanilla extract, and red gel food coloring until thoroughly combined and the color is evenly distributed. Start with 2 tablespoons of food coloring and add more if you desire a deeper red.
- Combine Wet & Dry: Gradually add the wet ingredients to the dry ingredients, mixing on low speed with an electric mixer (or by hand) until just combined. Be careful not to overmix; a few small lumps are acceptable.
- Bake: Divide the batter evenly between the prepared cake pans. Bake for 25-30 minutes, or until a wooden skewer or toothpick inserted into the center of the cakes comes out with moist crumbs, not wet batter.
- Cool: Let the cakes cool in the pans on a wire rack for 10-15 minutes before inverting them directly onto the wire rack to cool completely. Ensure they are fully cooled before frosting to prevent the frosting from melting.
- Make Oreo Cream Cheese Frosting: In a large bowl, using an electric mixer, beat the softened cream cheese and softened butter together on medium speed until smooth and creamy, about 2-3 minutes.
- Add Powdered Sugar: Gradually add the sifted powdered sugar, one cup at a time, beating on low speed until incorporated, then increasing to medium speed until light and fluffy.
- Finish Frosting: Beat in the vanilla extract. If the frosting is too thick, add the heavy cream one tablespoon at a time until your desired consistency is reached. Gently fold in the 1 ½ cups of finely crushed Oreo cookies until evenly distributed.
- Assemble & Decorate: Place one cooled cake layer on your serving plate or cake stand. Spread about 1 cup of frosting evenly over the top. Carefully place the second cake layer on top. Cover the entire cake with the remaining frosting, smoothing the sides and top with an offset spatula.
- Garnish: Arrange whole Oreo cookies around the top edge of the cake, or place them artistically on top. Sprinkle the additional crushed Oreo cookies over the top and around the base of the cake for a finishing touch.
- Chill: For best results and easier slicing, chill the cake in the refrigerator for at least 30 minutes before serving.
Cooking Tips and Variations
Achieving the perfect red hue is crucial for a stunning Red Velvet Cake. Always opt for gel food coloring over liquid; it provides a much more vibrant and concentrated color without adding excess liquid to your batter. Start with the recommended amount and add more gradually until you reach your desired deep red. Remember, the color will deepen slightly during baking. The importance of room temperature ingredients cannot be overstated for both the cake and the frosting. For the cake, room temperature eggs, buttermilk, and oil emulsify better, leading to a smoother, more uniform batter and a finer crumb. For the frosting, softened cream cheese and butter combine without lumps and whip up into a light, airy texture. If your ingredients are too cold, your batter might curdle, and your frosting will be lumpy and difficult to spread.
To avoid a dry cake, the golden rule is: do not overbake! Every oven is different, so the baking time is a guideline. Start checking for doneness a few minutes before the minimum time. A toothpick or wooden skewer inserted into the center of the cake should come out with moist crumbs attached, not wet batter. If it comes out completely clean, your cake might already be a bit dry. For the cream cheese frosting, always use full-fat cream cheese. Low-fat varieties contain more water and can result in a runny, unstable frosting. Also, once the cream cheese and butter are smooth, avoid overbeating the frosting, especially after adding the powdered sugar. Over-whipping can incorporate too much air, which then collapses and makes the frosting thin and watery. Ensure your butter is softened, not melted, as melted butter will also lead to a greasy, runny frosting.
Crushing Oreos is simple but can be done in a couple of ways depending on your desired texture. For fine crumbs that blend seamlessly into the frosting, a food processor is your best friend. Pulse until the cookies are finely ground, like sand. If you prefer larger, more noticeable chunks for added textural contrast, place the Oreos in a sturdy Ziploc bag, seal it, and crush them with a rolling pin or the bottom of a heavy pan. This method allows for more control over the size of the pieces. Regarding variations, feel free to experiment with different Oreo flavors! Mint Oreos could add a refreshing twist, Golden Oreos would create a delightful vanilla contrast, or even Peanut Butter Oreos for a nutty depth. For a boozy kick, you can add a tablespoon or two of coffee liqueur, Kahlua, or even a hint of bourbon to the frosting. This adds another layer of complexity and sophistication. You could also drizzle a rich chocolate ganache over the top of the frosted cake before adding the Oreo garnish for an extra touch of decadence. If you’re adapting this recipe for cupcakes, fill liners about two-thirds full and reduce the baking time to approximately 18-22 minutes, checking for doneness with a toothpick. For a gluten-free option, substitute the all-purpose flour with a 1:1 gluten-free all-purpose flour blend that contains xanthan gum. Always check the specific recommendations for your chosen GF flour blend, as some may require slight adjustments to liquid content.
Storage and Reheating
Proper storage is essential for maintaining the freshness and deliciousness of your Oreo Red Velvet Cake, especially given the cream cheese frosting. Because the frosting contains dairy, the cake must be stored in the refrigerator. Place the frosted cake in an airtight cake carrier or cover it loosely with plastic wrap. Stored this way, the cake will remain fresh for up to 3-4 days. To enjoy the cake at its best flavor and texture, it’s highly recommended to bring it to room temperature before serving. Remove it from the refrigerator about 1-2 hours before you plan to slice and serve. This allows the cake layers to soften and the frosting to become lusciously creamy, enhancing the overall eating experience. Serving a cold cake can make the layers seem denser and the frosting stiffer, diminishing its intended indulgence.
If you have unfrosted cake layers, they can be stored at room temperature, wrapped tightly in plastic wrap, for up to 2 days. For longer storage, unfrosted and thoroughly cooled cake layers can be wrapped individually in plastic wrap and then in aluminum foil, and frozen for up to 2-3 months. Thaw frozen layers in the refrigerator overnight or at room temperature for a few hours before frosting. Once thawed, proceed with frosting as normal. Freezing the unfrosted cake layers can actually help to lock in moisture, sometimes resulting in an even moister cake once thawed. Frosted cake can also be frozen, though it’s best for shorter periods, around 1 month. To freeze a frosted cake, first place it uncovered in the freezer for about an hour to allow the frosting to harden. Once firm, wrap the entire cake tightly in plastic wrap, then in aluminum foil. Thaw in the refrigerator overnight. While reheating is not typically necessary for cake, if you wish to serve a slightly warm slice (perhaps without frosting), you could gently warm it in the microwave for 10-15 seconds, but be careful not to overheat and dry it out.
Frequently Asked Questions
What kind of cocoa powder should I use for Red Velvet Cake?
For a traditional Red Velvet Cake, natural unsweetened cocoa powder is recommended. Dutch-processed cocoa powder, which has been treated with an alkali to neutralize its acidity, will react differently with the baking soda and vinegar, potentially affecting the rise and the vibrant red color. Natural cocoa powder’s acidity helps to activate the baking soda, contributing to the cake’s tender crumb and subtle tang.
My cream cheese frosting is too runny. What went wrong?
Several factors can lead to runny cream cheese frosting. The most common culprits are using low-fat cream cheese, which has higher water content, or overbeating the frosting, especially after adding the powdered sugar. Over-whipping incorporates too much air, which then collapses and thins the frosting. Ensure your cream cheese and butter are softened but not melted. If your frosting is too runny, try chilling it in the refrigerator for 30-60 minutes to firm it up, then beat it again briefly before using. You can also try adding a bit more sifted powdered sugar, a tablespoon at a time, to thicken it.
Can I make this cake ahead of time?
Yes, absolutely! This cake is an excellent make-ahead dessert. You can bake the cake layers up to 2 days in advance, wrap them tightly in plastic wrap, and store them at room temperature. The cream cheese frosting can also be made a day in advance and stored in an airtight container in the refrigerator. Before frosting, let the frosting come to room temperature and give it a quick whip to restore its creamy consistency. Once assembled, the cake needs to be refrigerated due to the cream cheese frosting, and it will taste best if brought to room temperature for 1-2 hours before serving.
Why did my cake layers sink in the middle?
Cake layers sinking in the middle can be due to several reasons, including opening the oven door too early during baking (which causes a sudden temperature drop), underbaking the cake, or using too much leavening agent (baking soda). Ensure your oven temperature is accurate by using an oven thermometer. Avoid opening the oven door until at least two-thirds of the baking time has passed. Always test for doneness with a toothpick to ensure the cake is fully baked through before removing it from the oven.